VMaNGOS

Getting Started
This section will walk you through the process of setting up your VMaNGOS server using Docker & Docker Compose. All steps within this guide have separate pages that go into more detail about how to perform the processes described in them. If you are having difficulty, follow the information () guide links for a more indepth process.
Warning
Before you begin you need to make sure you've completed the installation guide.
Selecting the Experience
Info
If you encounter difficulty in this process, review the overview.
Select the experience below that you'd like to setup, which will take you to a git repository for download.
Downloading the repository
Download the repository using the Download Zip to your local machine. This will be a zip file that you will need to extract. Extract the files to anywhere on your machine that you want to keep track of project files. When extracted, you should have at minimum the following files:
compose.yml: Defines how the emulator server and its database are run using Docker.mangosd.conf: The configuration file for gameplay mechanisms, like server rates.realmd.conf: The configuration file for login server settings.README.md: A markdown (text) file that provides instructions on how to leverage the configuration.
If you prefer to use Git, you can also download the repository using git clone instead of downloading & extracting.
Preparing the Client Data
Info
If you encounter difficulty in this process, review the client-data overview.
Open a terminal within the folder containing the game client, then run the following command to extract the client data into the folder client-data:
docker run --rm -v .:/client -v ./client-data:/output ghcr.io/thoriumlxc/vmangos:5875-extractor-2025.02.23
Extracting the data
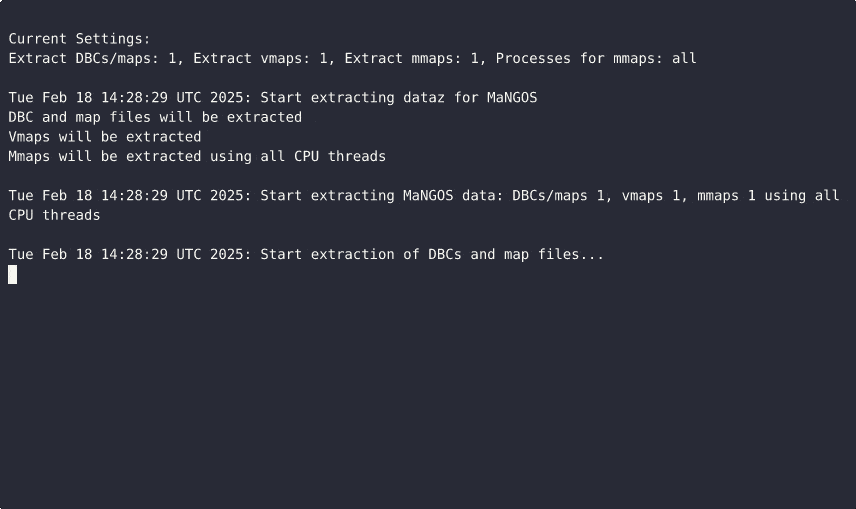
When this is completed, you'll have a folder with the client data named client-data. We'll now load this data into a docker volume, first create the volume below:
docker volume create vmangos-map-data
Now copy the extracted game client data into the named volume by running the following command:
docker run --rm -v vmangos-map-data:/data -v ./client-data:/input alpine sh -c "cp -a /input/. /data"
You will now have a named volume containing the map data, which will allow us to run the server.
Starting the Server
Once everything is set up, we'll start the server using Docker Compose. Open a terminal in the folder that contains compose.yml (the files you downloaded before) and run the following command:
docker compose up -d
This command will:
- Pull the necessary Docker images (if not already downloaded).
- Start both the mangosd server, the realmd server and the database in the background.
To verify that everything is running:
docker-compose ps
You should see services like mangosd and realmd listed as "Up.", with a response that looks like the following, with the relevant column being the Status:
CONTAINER ID   IMAGE                                           COMMAND                  CREATED         STATUS              PORTS                    NAMES
f31eaa44afe8   thoriumlxc/vmangos:default-2025.02.23           "realmd"                 2 minutes ago   Up About a minute   0.0.0.0:3724->3724/tcp   vmangos-main-realmd-1
7c3674a872fa   thoriumlxc/vmangos:default-2025.02.23           "mangosd"                2 minutes ago   Up About a minute   0.0.0.0:8085->8085/tcp   vmangos-main-mangosd-1
7b9c31f7aaa4   phpmyadmin                                      "/docker-entrypoint.…"   2 minutes ago   Up 2 minutes        0.0.0.0:9090->80/tcp     vmangos-main-phpmyadmin-1
f63b92a4162b   thoriumlxc/vmangos:2025.02.23                   "docker-entrypoint.s…"   2 minutes ago   Up 2 minutes        3306/tcp                 vmangos-main-database-1
Info
Containers inherit their names from the folder they are running in. If you kept the name from the download, its likely similar to 'vmangos-main'
You may need to wait 5 to 10 minutes for any bots or supporting systems to come online, for which you can review the logs using Docker compose.
Connecting to Your Server
Standard practice for MaNGOS compatible game clients is a realmlist.wtf file in the Tool Command Language which includes a realmlist property that points to the IP Address (or domain name) of the login server (realmd).
You'll need to modify this file to match the IP address of the machine that is running the server. If you are running it on the same machine as the game client, then you can set it as 127.0.0.1. This will look like the following:
set realmlist 127.0.0.1
You can now spin up your game client, and connect to the emulator server. You can use the default player:player user account for login, or consult the user accounts page.